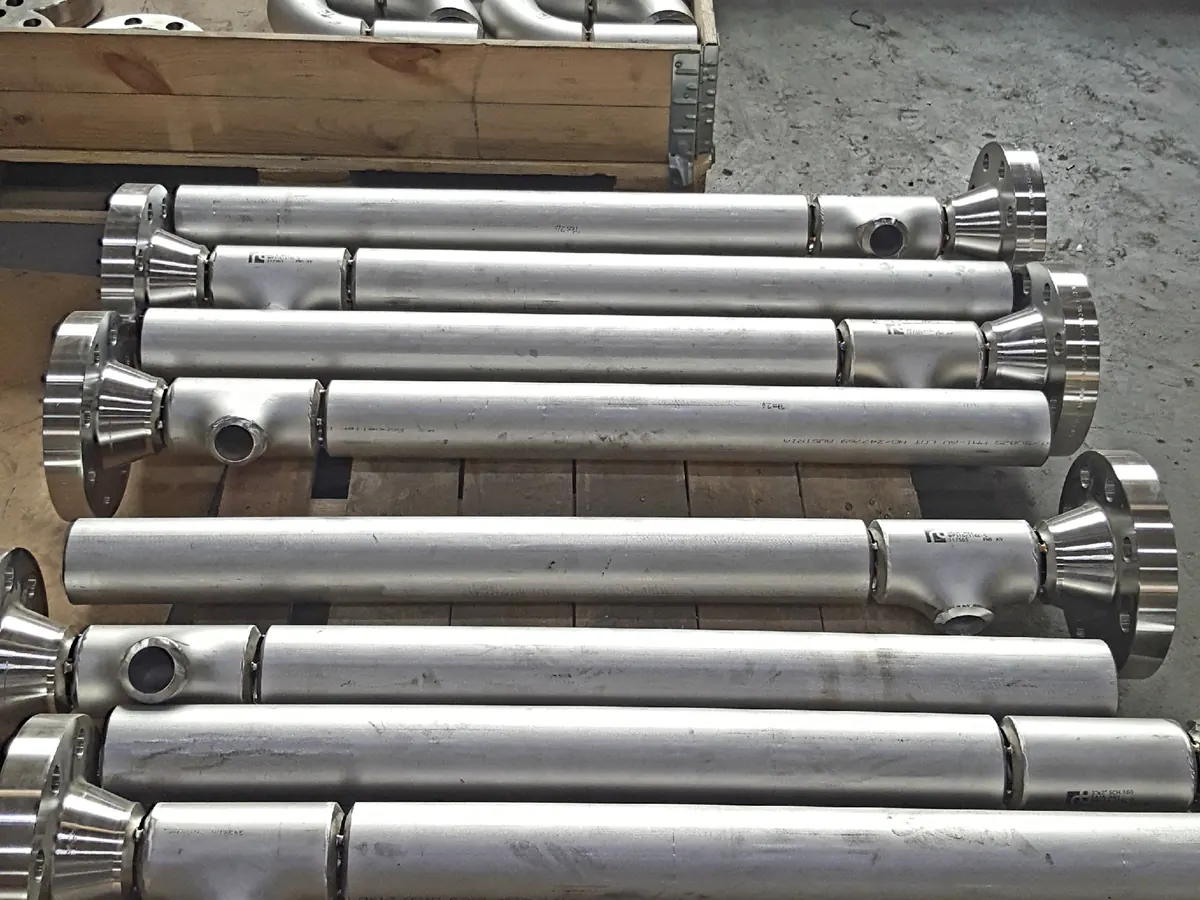
Planning the welding sequence
Every weld shrinks, and the order in which you weld determines how that shrinkage accumulates. A structure welded in the wrong sequence distorts, and straightening afterwards costs more time than the entire welding programme. Yet in many workshops the sequence is left to the welder.
This article covers the principles for designing a sequence and the points where it goes wrong in practice.
Three kinds of shrinkage
Transverse shrinkage pulls the parts together across the joint and is greatest with a lot of weld metal and a wide preparation. Longitudinal shrinkage acts along the weld and bows the structure on long seams. Angular distortion tilts the parts about the joint, because the top shrinks more than the bottom.
Each calls for a different measure. Transverse shrinkage is limited by less weld metal and a tighter preparation, longitudinal by back stepping, angular by welding from both sides or by presetting in the opposite direction.
Principles of a good sequence
Weld symmetrically about the neutral axis so shrinkage on either side cancels out. Work from the centre outwards so parts do not lock up. Weld the joints that shrink most first, usually the butt welds, and the fillets afterwards.
On long seams use back stepping: welding short lengths in a direction opposite to the overall progression. That distributes the heat and considerably reduces net longitudinal shrinkage at barely any extra time.
Clamping or letting it move
Firm fixturing limits distortion during welding but substitutes residual stress for it. On heavy sections and crack sensitive material that can cause cracking. Leaving the work free gives less residual stress but more distortion.
The practical middle ground is to clamp while welding the critical joints and release before the final joints, letting the structure settle. On high strength steel, deliberately less rigid fixturing is common. See preventing hydrogen cracking.
Record it and monitor it
The sequence belongs on paper, with numbered welds matching the weld log. Then work planning can schedule it, the welder can follow it and the inspector can verify it. Without a recorded sequence, the result depends on who happens to be at the bench.
Measure dimensions after the first batch and adjust the sequence if distortion consistently falls the same way. Presetting in the opposite direction is then often simpler than reworking the whole sequence. See controlling weld distortion.
Frequently asked questions
A technique in which the seam is welded in short lengths, each laid in the direction opposite to the overall progression. The weld advances left to right, for instance, but each segment is deposited right to left. That limits the build-up of longitudinal shrinkage.
Yes, where distortion is predictable. By setting the parts in the opposite direction beforehand, the structure comes out straight after welding. It does require measurement data from earlier batches; on the first set it is guesswork.
Certainly. Tacks set the starting geometry and shrink themselves. Tack at close spacing, symmetrically, with the same procedure as the main weld, and either consume the tacks in the main weld or grind them out.
Flame straightening works, but it reintroduces heat and affects properties. On thermomechanical and quenched and tempered steel there is a maximum temperature that must not be exceeded. Straighten within recorded limits and document it.
More from the knowledge centre
Have a welding or QA/QC question?
Ask the DEHAAS Welding & Quality Assistant, have your case reviewed by a specialist, or call us directly.