Controlling weld distortion: causes, types and measures
Weld distortion is one of the costliest problems in fabrication. An assembly that comes out skewed, bowed or buckled has to be straightened, machined or, at worst, remade. Yet distortion is not random: it is the predictable result of expansion and shrinkage during welding. Understanding the causes lets you keep distortion within tolerance.
This article explains how shrinkage arises, the main types of distortion and the measures that work: welding sequence, presetting and restraint, balancing about the neutral axis, straightening afterwards and, above all, smart design choices.
The cause of weld distortion: shrinkage
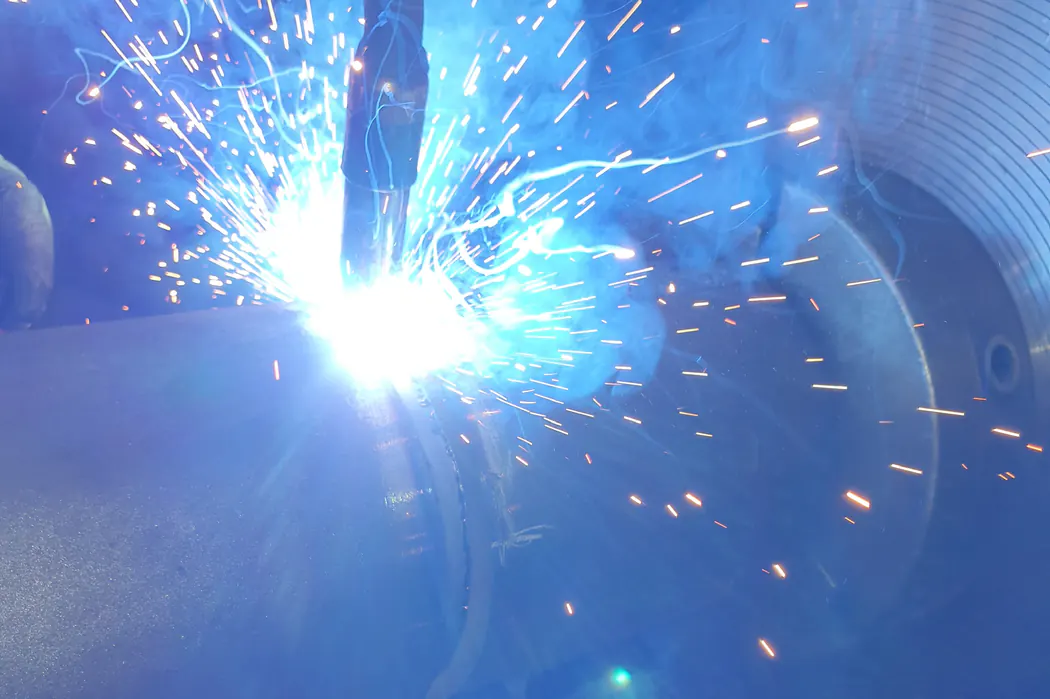
Welding heats the material locally beyond its melting point. The hot zone tries to expand but is restrained by the cold surrounding metal, so it is upset and plastically deformed. On cooling, the weld metal and heated zone contract by more than they originally expanded. This net shrinkage pulls on the surrounding material, causing distortion, residual stress or both.
The trade off is simple: the more you restrain the assembly, the less distortion and the more residual stress, and vice versa. The aim is a balance that suits the dimensional and strength requirements.
Material matters too. Austenitic stainless steel expands about one and a half times as much as carbon steel and conducts heat poorly, so it distorts noticeably more. Aluminium expands strongly but dissipates heat quickly.
Types of distortion
- Transverse shrinkage: the joint shortens perpendicular to the weld
- Longitudinal shrinkage: the weld shortens along its length
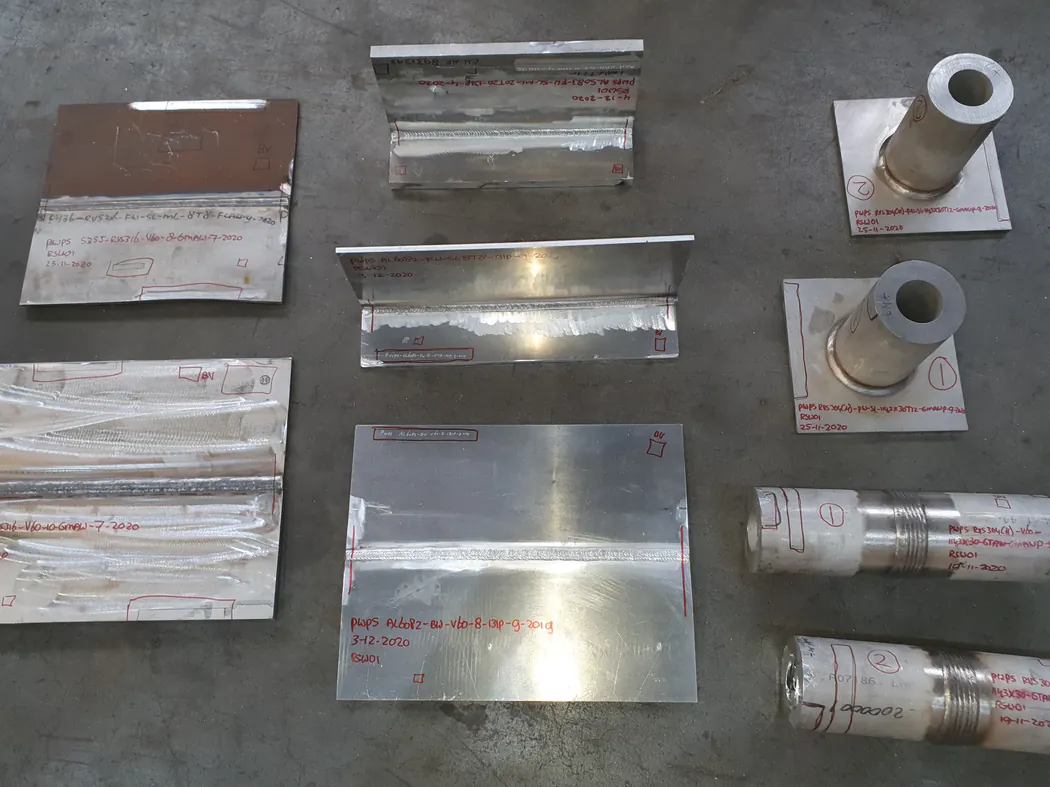
- Angular distortion: plates rotate about the weld because the top of a V preparation shrinks more than the root
- Bowing: a beam or section bends because welds are not symmetrical about the neutral axis
- Buckling: thin plate buckles under compressive stress from longitudinal shrinkage
- Rotational distortion: the joint gap changes during welding as unwelded parts move
Identifying the type is the first step, as each calls for a different response.
Less heat and less weld metal
The most effective measure is to deposit less shrinking volume.
- Do not overweld: a fillet with a 5 mm throat instead of 4 mm contains over one and a half times the weld metal
- Use a smaller included angle or a lower volume joint preparation
- On thick plate, use a double V instead of a single V and weld alternately from both sides
- Choose a process and parameters with controlled heat input and few passes
- Consider intermittent welds where strength allows
Less weld metal also saves welding cost, so this measure pays twice.
Welding sequence and balancing
- Balance about the neutral axis: weld symmetrical joints alternately, such as the flange welds of an I beam, so bending effects cancel out
- Backstep welding: weld short lengths against the overall direction so shrinkage does not accumulate one way
- Skip welding: distribute segments along the length rather than one continuous run
- Centre outwards: on large panels start in the middle so shrinkage can move to the free edges
- Transverse seams before longitudinal seams: in plate fields this prevents restraint of transverse shrinkage
Record the sequence in the WPS or a separate sequence drawing so it does not depend on the individual welder.
Presetting, restraint and tacking
Presetting places parts at a small angle so angular distortion pulls them into position during welding; the angle comes from experience or trial pieces. Restraint with clamps, jigs, strongbacks or stiffeners holds parts in place but raises residual stress and, in crack sensitive steels, the risk of cold cracking. Let the assembly cool before releasing clamps.
Tack welding deserves as much attention as the weld itself: a proper tacking sequence, sufficient tacks and an even gap prevent the joint closing up during welding.
Straightening afterwards
If tolerances cannot be met, the assembly is straightened. Mechanical straightening with a press is predictable but needs sufficient force and can cause unwanted cold work in high strength steels. Flame straightening turns shrinkage to your advantage: local heating creates an area that shrinks on cooling and pulls the distortion back.
Maximum temperature is critical. For common structural steels it is around 600 to 650 degrees Celsius, often lower for thermomechanically rolled and quenched and tempered grades. Follow the steelmaker's data and EN 1090-2. Flame straightening is less suitable for stainless steel because of discoloration and reduced corrosion resistance.
Design choices that prevent distortion
- Reduce the number of welds, for example by using formed or rolled sections
- Place welds as close to the neutral axis and as symmetrically as possible
- Size welds for the strength actually required
- Use stiffeners or thicker plate where flatness matters
- Specify realistic tolerances, for example to ISO 13920 or EN 1090-2
- Allow machining stock where parts are machined after welding
Independent welding engineering support during design and work preparation helps align sequence, joint design and tolerances in advance.
Frequently asked questions
No, welding always involves shrinkage. It can be limited so the assembly stays within tolerance by aligning volume, heat, sequence, restraint and design.
Austenitic stainless steel has a higher coefficient of expansion and lower thermal conductivity, so heat stays concentrated around the weld and shrinkage is greater. Limit heat input and use rigid fixtures and a careful sequence.
It reduces residual stress and prevents later movement during machining or service, but it does not correct existing distortion. Dimension critical parts are therefore often heat treated first and machined to size afterwards.
Preferably work preparation together with the welding coordinator, recorded in the WPS or a sequence drawing, so it is repeatable and not left to individual preference.
More from the knowledge centre
Have a welding or QA/QC question?
Ask the DEHAAS Welding & Quality Assistant, have your case reviewed by a specialist, or call us directly.